
Map lead-on and lead-off lines
Mapping lead-on lines
Section titled “Mapping lead-on lines”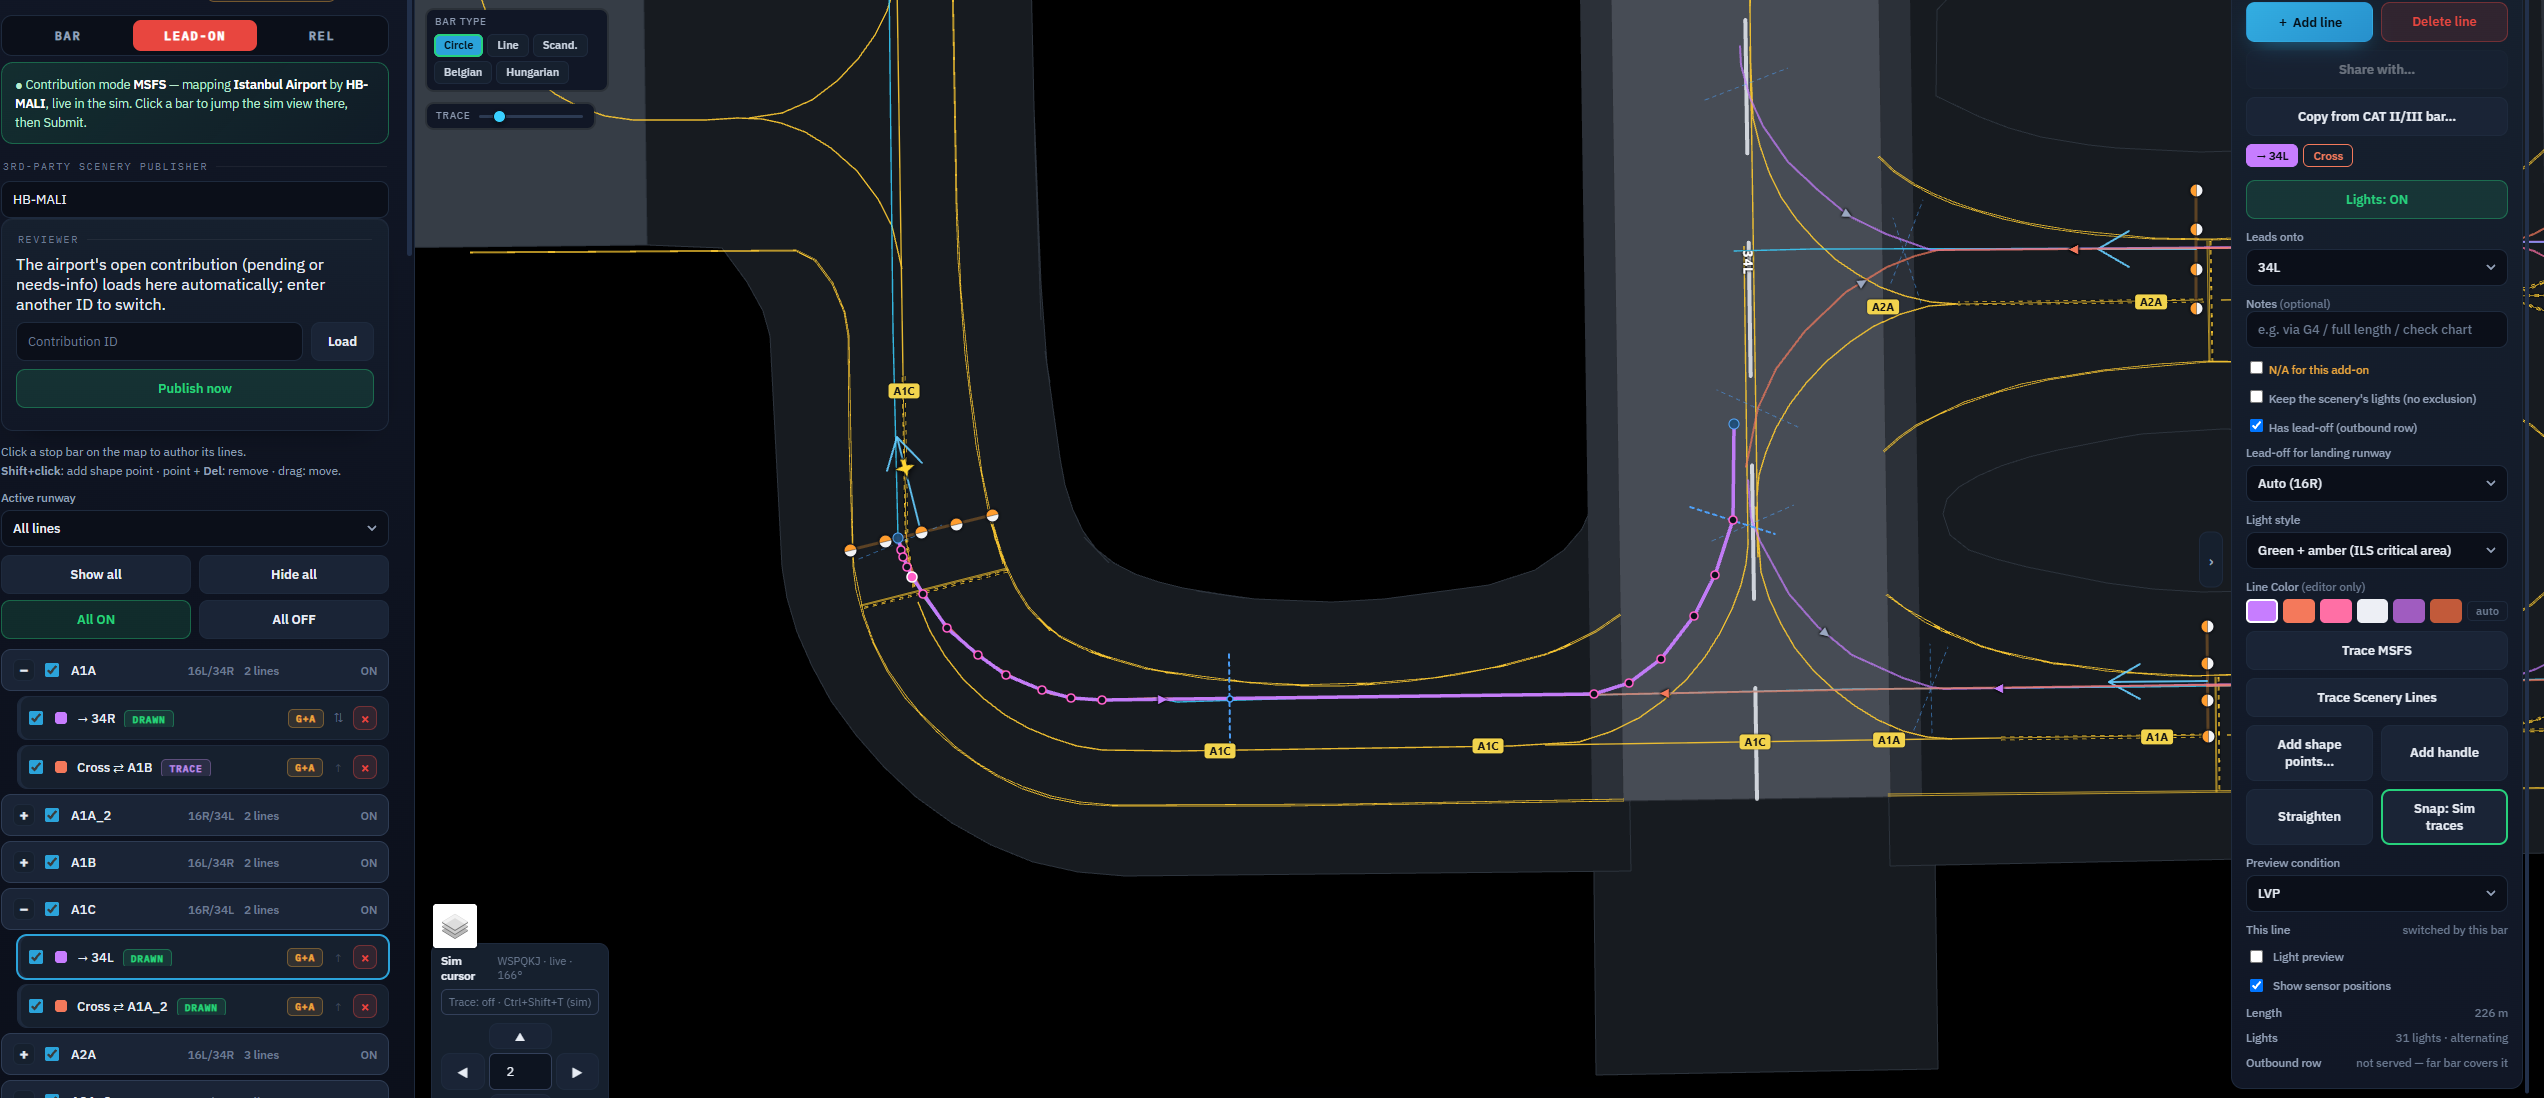
Lead-on lights are the green centerline beyond a stop
bar. They light when a controller clears that bar, for the aircraft that was
cleared. You author them in the same editor, on the Lead-On tab - the
Bar | Lead-On | Rel strip at the top of the sidebar.
Drawing lines
Section titled “Drawing lines”- Click a stop bar on the map.
- Click
+ Add line. Draw one line per way out of the bar - a bar with a left and a right exit gets two lines. The scope picks by the aircraft’s departure runway. - End the line where the scenery’s green centerline ends. The lights and the
exclusion follow the line exactly as drawn; the controller’s end sensor sits
where the line meets the runway centerline, so lights drawn past it go out when
the aircraft crosses the centerline. A
Crossline goes all the way to the far side.
For each line, set Leads onto:
| Choice | Meaning |
|---|---|
A runway end - 34R, not 16L/34R |
The line leads onto that runway for departure. |
Cross |
The line crosses the runway to the far side. It lights for traffic that is not departing here. |
Exclusion only |
No lights. The line only covers the scenery’s own greens on a leg that is not a route - see scenery lights. |
- Notes - free text, shown in the controller’s menu. Use it where two lines out of one bar are not obviously different (“via G4”, “full length”).
- Default - when two lines lead onto the same end, mark one as default. With none marked, neither lights. The list flags this with a ☆ star.
- N/A for this add-on - on a scenery variant map: the line exists in the real world, but this add-on has no taxiway line for it. Pilots on it never see the line.
Shaping a line
Section titled “Shaping a line”A new line starts straight. Pull it onto the painted centerline:
- Shift+click adds a shape point · Del removes the selected one · drag moves it.
Add shape points…- click along the line to drop points. Fewer is better: use only the points needed to follow the painted curve.Add handle- a bezier arm on the selected point. Drag it to bend the curve; the sim lights the same curve.Straighten- back to the straight auto line.Snap- a magnet on dragged and inserted points. Click to cycle the source: off →Sim traces→Scenery lines→X-Planepaint. It starts onSim tracesin a paired MSFS session or where the map has traces, otherwiseScenery lines. One setting, shared with the Rel tab.Trace sim- fit the line to a trace you drove in the sim withCtrl+Shift+T, same as REL tracing. The button readsTrace MSFSorTrace X-Planewhen paired.Trace Scenery Lines- fit it to the lines the map is drawing: the add-on’s own lines in a paired MSFS session, X-Plane’s paint otherwise.
Lines are shaped in the browser. The sim is for tracing and checking.
Choose green or green and amber
Section titled “Choose green or green and amber”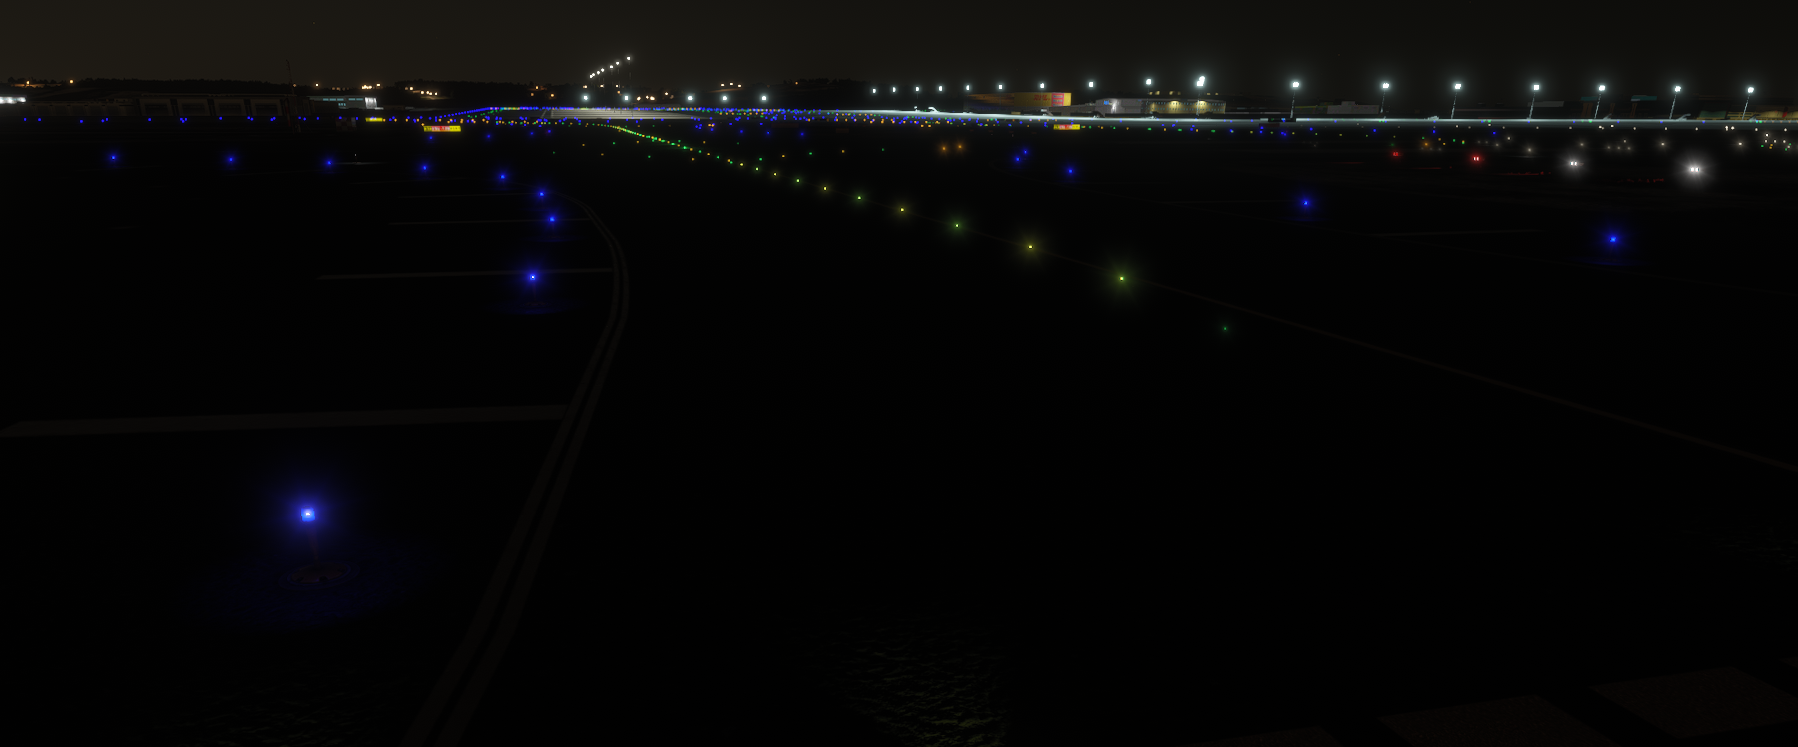
Green + amber (ILS critical area) is the default: the stretch alternates
green/amber, and the first light at the bar stays green. That matches most runway
entrances. Pick plain Green only where the real field has it.
Use the same path for lead-off
Section titled “Use the same path for lead-off”Draw one path for both directions. The same lights also show steady green or green+amber in the opposite direction - a lead-off for an aircraft that has just landed and is vacating.
Has lead-offis on by default for runway lines. Untick it if you do not want lead-off lights.Lead-off for landing runway- leave it onAuto(the opposite end ofLeads onto) unless the exit serves another runway.
Share and copy
Section titled “Share and copy”Share with…- two bars facing each other over the same taxiway. Draw one line, share it with the far bar, and each bar switches its own direction. Use it for nearly everyCrossline - so you do not have to draw for the opposite side.Copy from CAT II/III bar…- the CAT I bar’s line is the tail of the CAT II/III one. Copy it so the shared stretch keeps the same light positions.
Tracing in a paired sim
Section titled “Tracing in a paired sim”The most accurate way to shape a line in MSFS is to drive the path yourself and fit the line to your track. It is the same trace flow the FTG editor uses.
- Open the editor from the app in a paired session, so the sim and the browser share a cursor.
- Press
Ctrl+Shift+Tto start recording a breadcrumb trace. Press it again to stop. (X-Plane: bind theXPGuard/ftg_trace_togglecommand to a key.) - Taxi from the taxiway centerline at the stop bar until the end of the taxiway centerline leading to the runway or until the stop bar in the far side for “Cross” lead-on lines.
Check copied lines marked VERIFY
Section titled “Check copied lines marked VERIFY”A line copied or synced from another map arrives as a two-point sketch with a
VERIFY chip. The shape belongs to the other scenery, and nothing lights until
you fit it here. Drag a node, add a point, or trace it - the chip clears.